

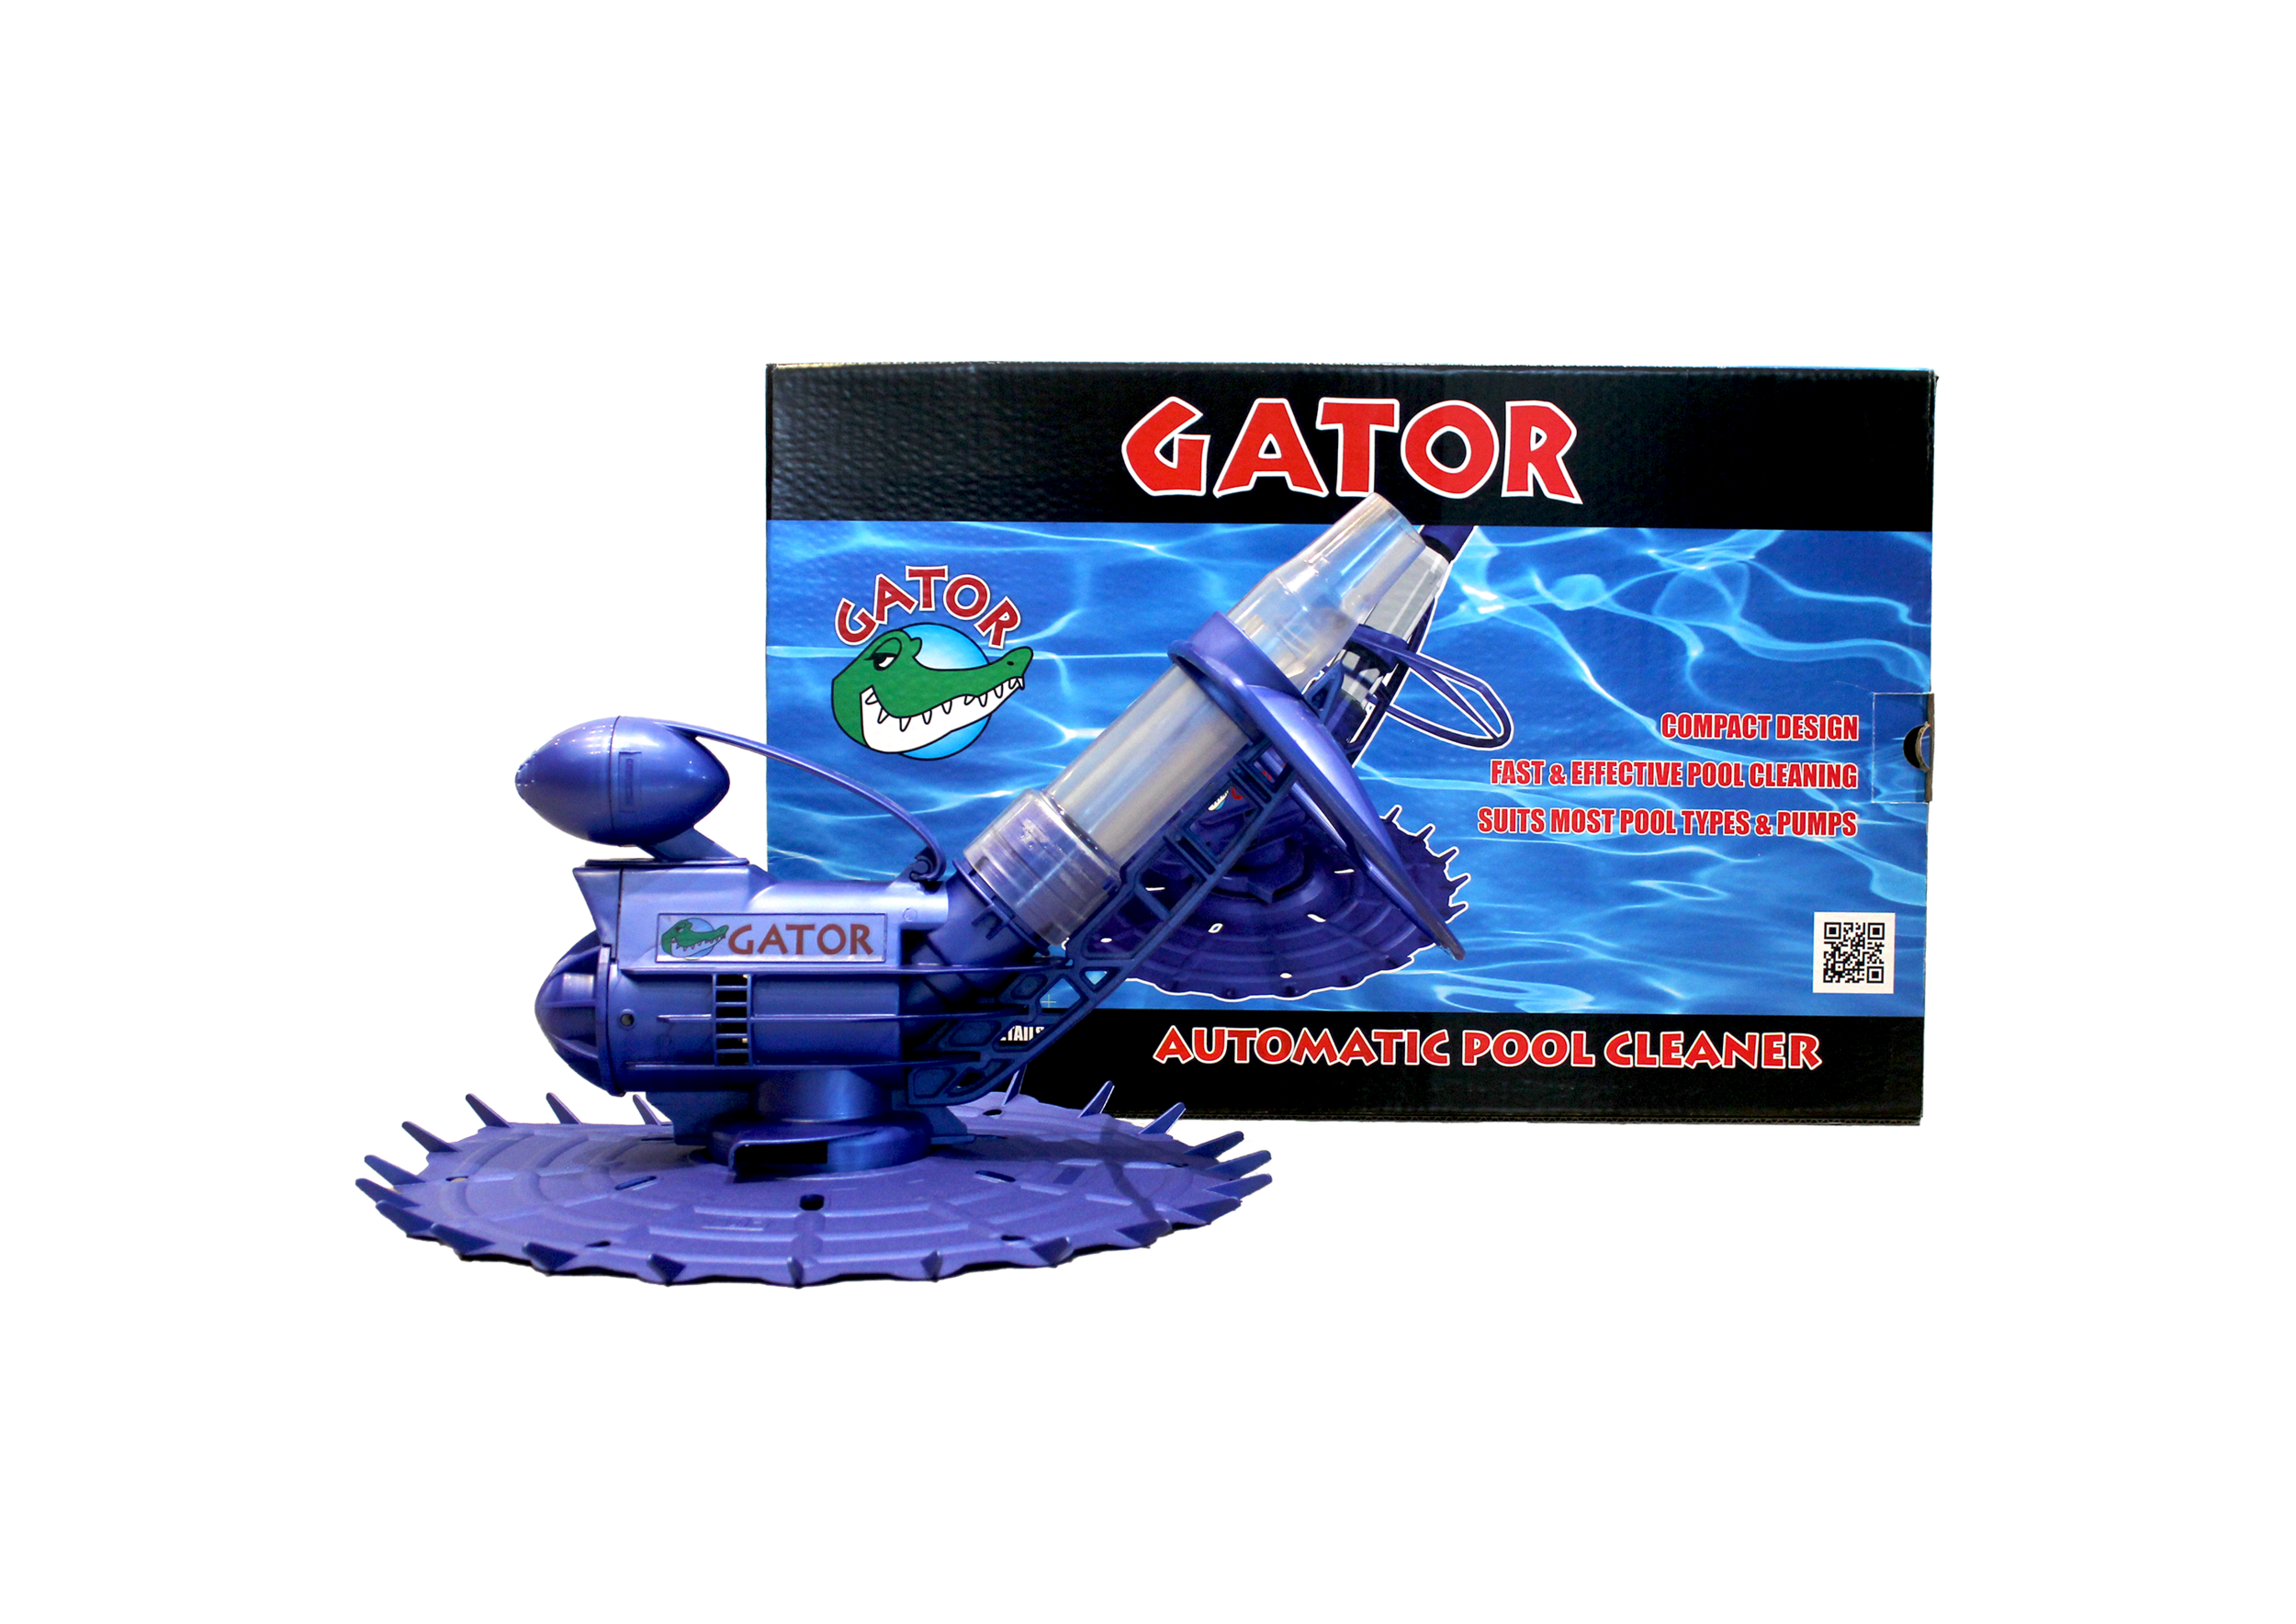
GATOR Auto Skim

No ugly debris bag. With other skimmers, fine particles, suntan lotion and body oils go back into the pool where they are a food source for algae. With Gator, these contaminants are taken to the filter and fewer chemicals are needed.
Moves randomly about the pool surface, cleaning to all corners of the pool. Its efficiency is not reliant on favourable water flow or wind.
Will not snag or hinder the APC as wall mounted skimmers are prone to do.
Easy to install and operate.
Simple sturdy design ensures minimal maintenance.
Poly-foam floatation material acts as a safety cushion, and lightweight construction of the skimmer ensures the unit will simply move away when bumped.
Operates effectively at any water level in any type or shape of pool, for example concrete, fibreglass and vinyl pools, above and below ground.
Step 1: Prepare your filtration system
1. Ensure that pump is switched off
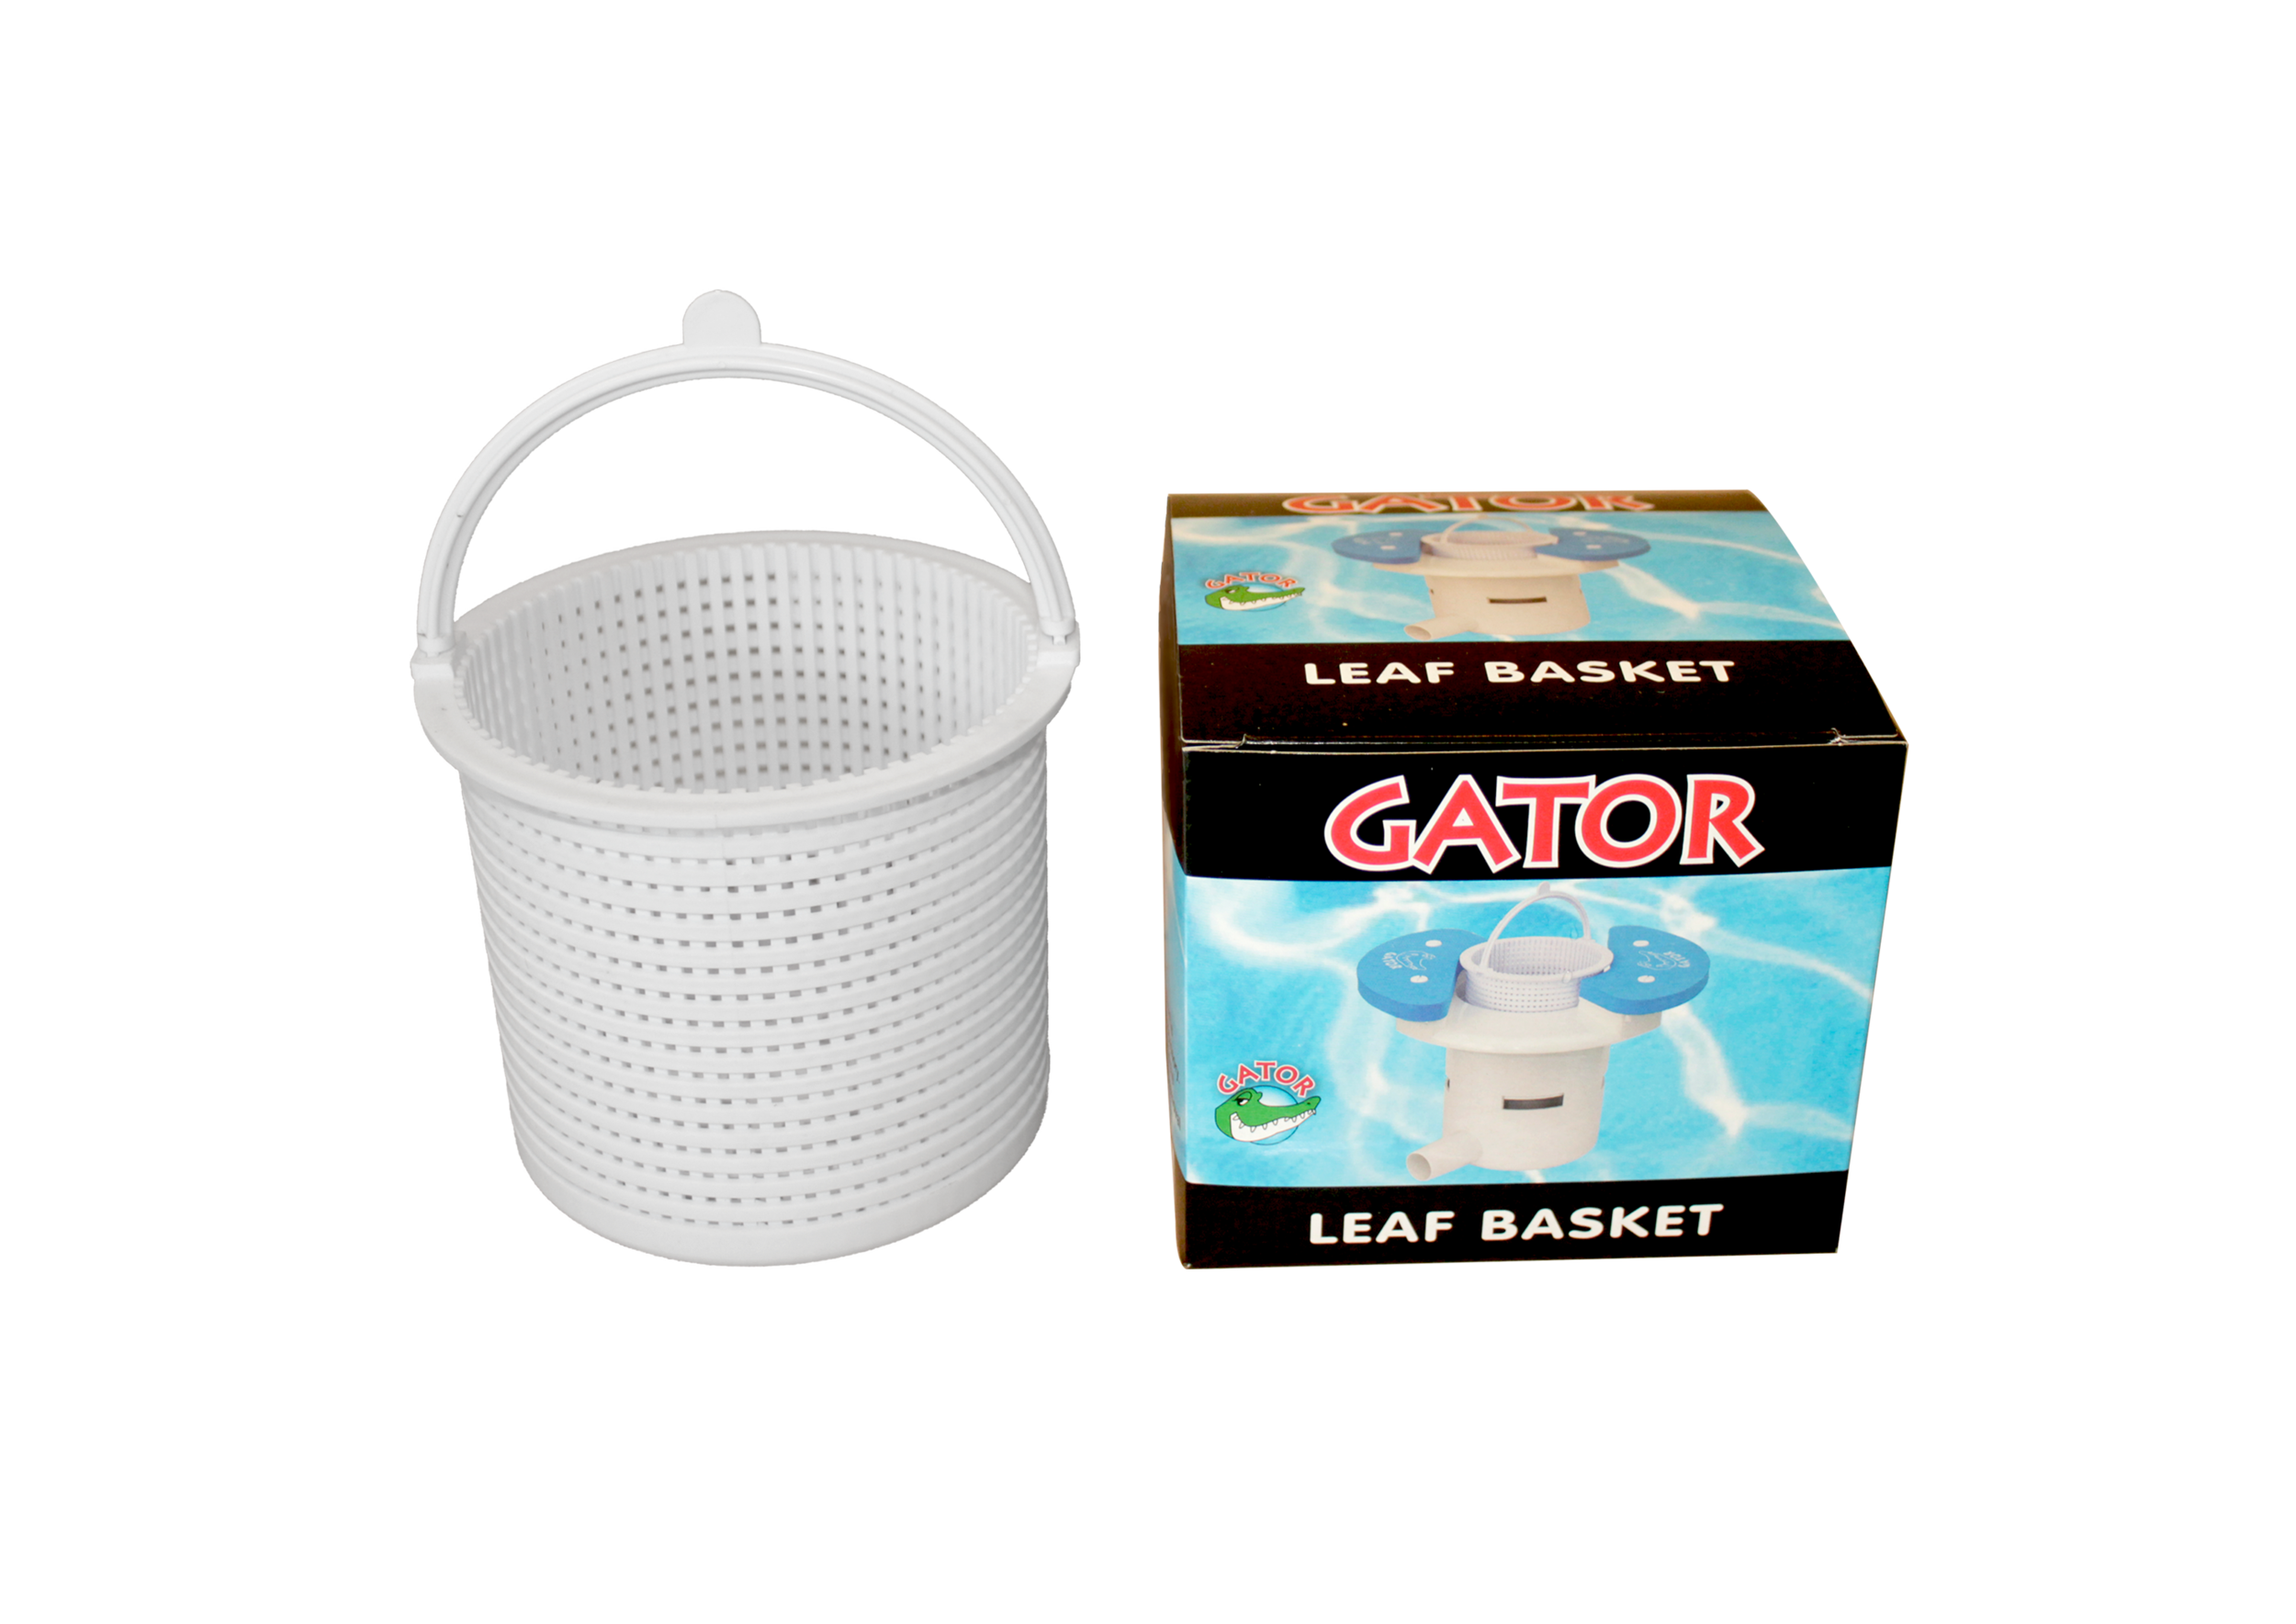
2. Empty the weir leaf basket
3. Empty the pump leaf basket
4. Carry out backwash procedure
Step: 2 Identify and replace weir regulator valve
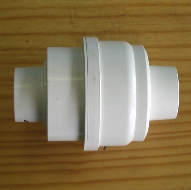
Your weir regulator valve will look similar to:
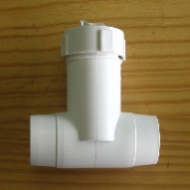
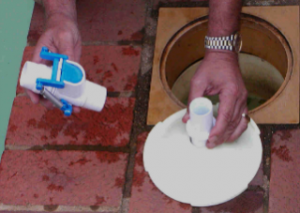
Replace your weir regulator valve with the CONNECTOR (part GA13). See Parts Identification here.
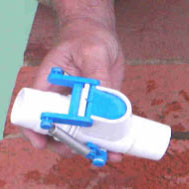
Step 3: Check pump efficiency
Attach one section of hose to the connector and insert the gatorguage (part no. GA14) into the other end of the hose. Ensure that the gatorguage is below water surface. Switch pump on and observe the reading after about 30 seconds.

Step 4: Set GATOR adjustments
1. The gauge will register an a, b, c or d reading.

2. An a reading shows good suction and a d reading shows poor suction.
For an a or b reading, assemble with SPACERS (part GA5).

3. For a c reading, assemble floats without SPACERS.
A d reading shows poor flow of water, therefore your pump and filter system need to be attended to before you can install your GATOR.
The tension plate is set on factory setting medium. It shouldn't be necessary to change this setting. A higher setting will increase the speed of your pool cleaner and decrease the volume of water entering the GATOR. The lower setting will have the opposite effect.

Step 5: Installation
1. Separate your hose two sections from your automatic pool cleaner. If you have a deep pool, separate your hose three sections out.
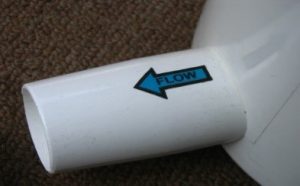
2. Take your GATOR and insert the end with the FLOW direction arrow facing toward the weir. If you install it in the wrong direction it will cause damage to your pump.
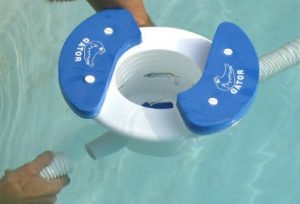
3. Allow the GATOR to fill with water by turning it on its side, then allow it to float level.

Your GATOR is now fully installed. Switch your pool pump on and the GATOR should start to operate and skim your pool surface. Should any problems be encountered, please refer to Troubleshooting.
Parts identification


General Maintenance
1. While the GATOR is designed to reduce pool maintenance time, maintenance of your entire pool system should be completed for optimum GATOR performance.
2. Switch the pool pump off before carrying out cleaning procedures.
3. Empty leaf baskets frequently
4. Backwash the filter regularly.
5. Check the GATOR for: a) leaves trapped in the flap valve area and b) easy movement of inner and outer cylinders.
6. Periodically use the GATORGUAGE to ensure that no leaks or faults have developed in your pump/ filter system.
Troubleshooting
Problem 1: GATOR is sluggish or does not operate at all.
Solution:
1. Check that CONNECTOR is substituted for your weir regulator valve.
2. Check that weir and pump baskets are clean.
3. Backwash the filter.
4. Check that vacuum lid is flush in the weir.
5. Check that water flow direction through GATOR is correct.
6. Check that aim flow(s) is not restricting return water flow. (E.g. a wall mounted leaf skimmer would create this problem).
7. Increase the tension on the TENSION PLATE on GATOR.
Problem 2: Surface water enters GATOR too slowly.
Solution:
1. Refer to items 1—4 above.
2. Decrease the tension on TENSION PLATE on GATOR.
3. Add an extra float spacer to each side.
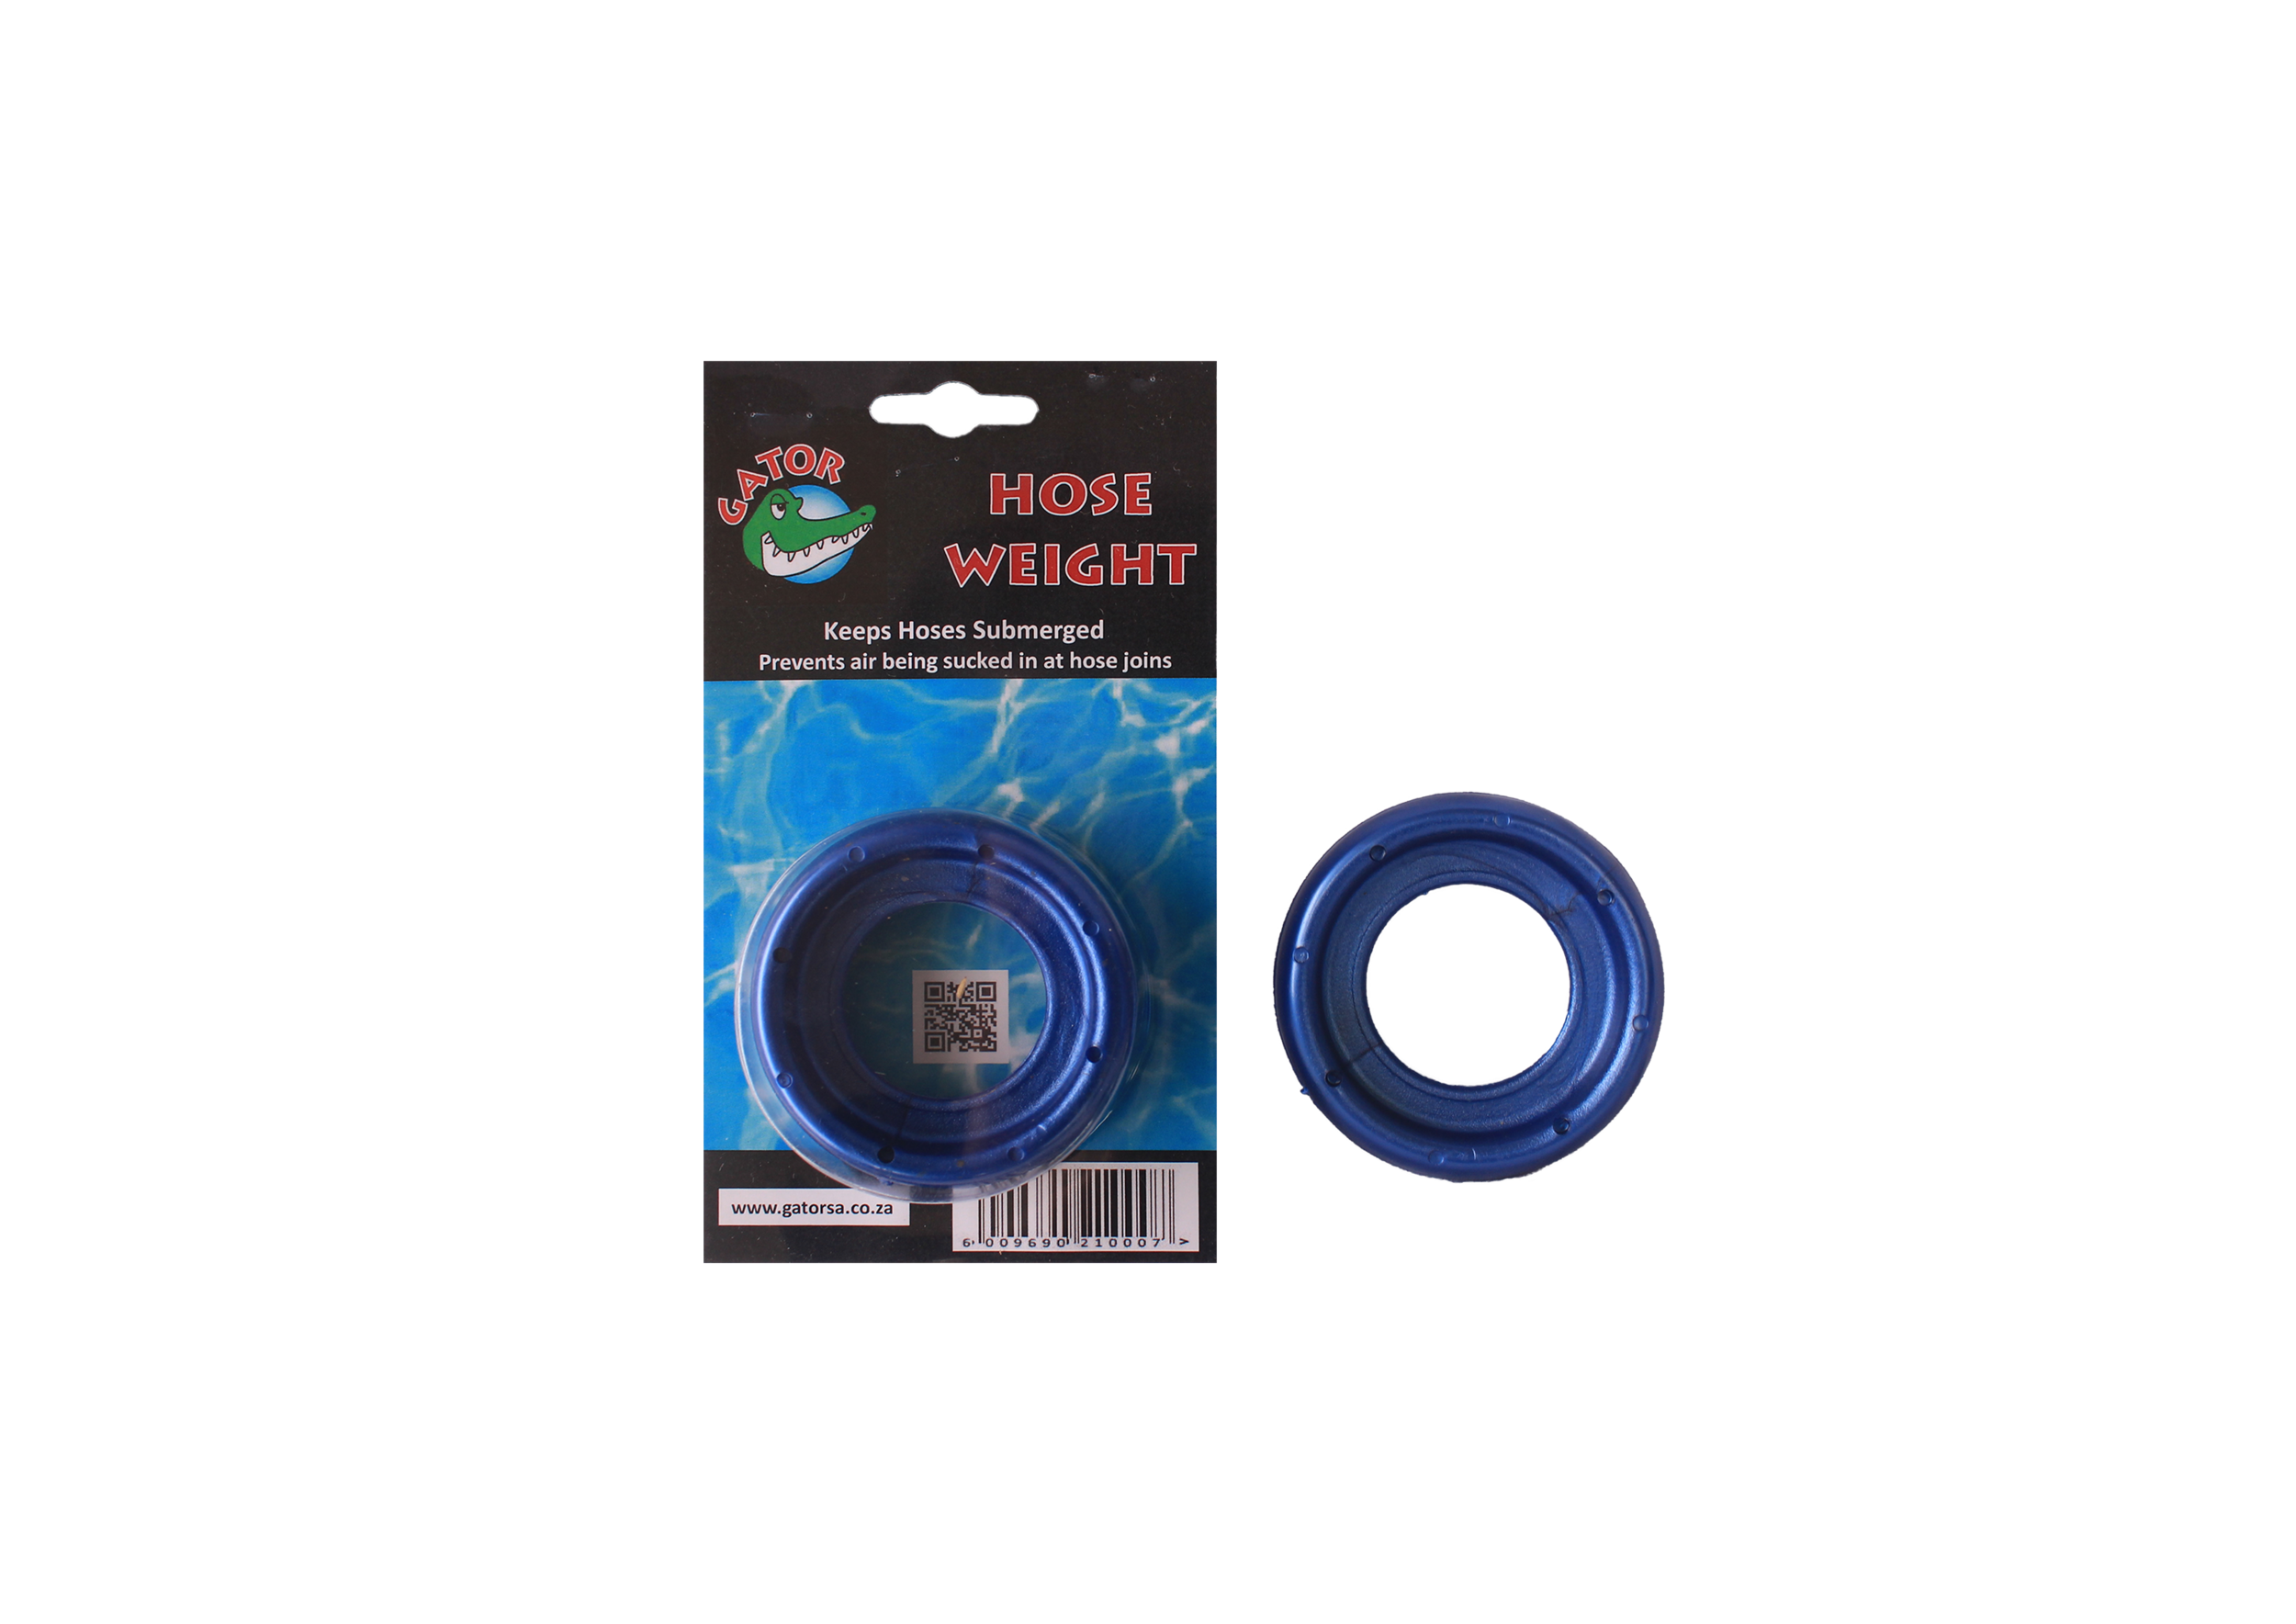
Problem 3: GATOR rises up out of the water and takes in air.
Solution:
1. Increase the tension on TENSION PLATE.
2. Add one float spacer to each side.
3. Check that inner and outer cylinders move easily in relation to each other.
If not, remove the slide stop rivet (part no. GA8), separate the cylinders, rinse off any debris and reassemble.
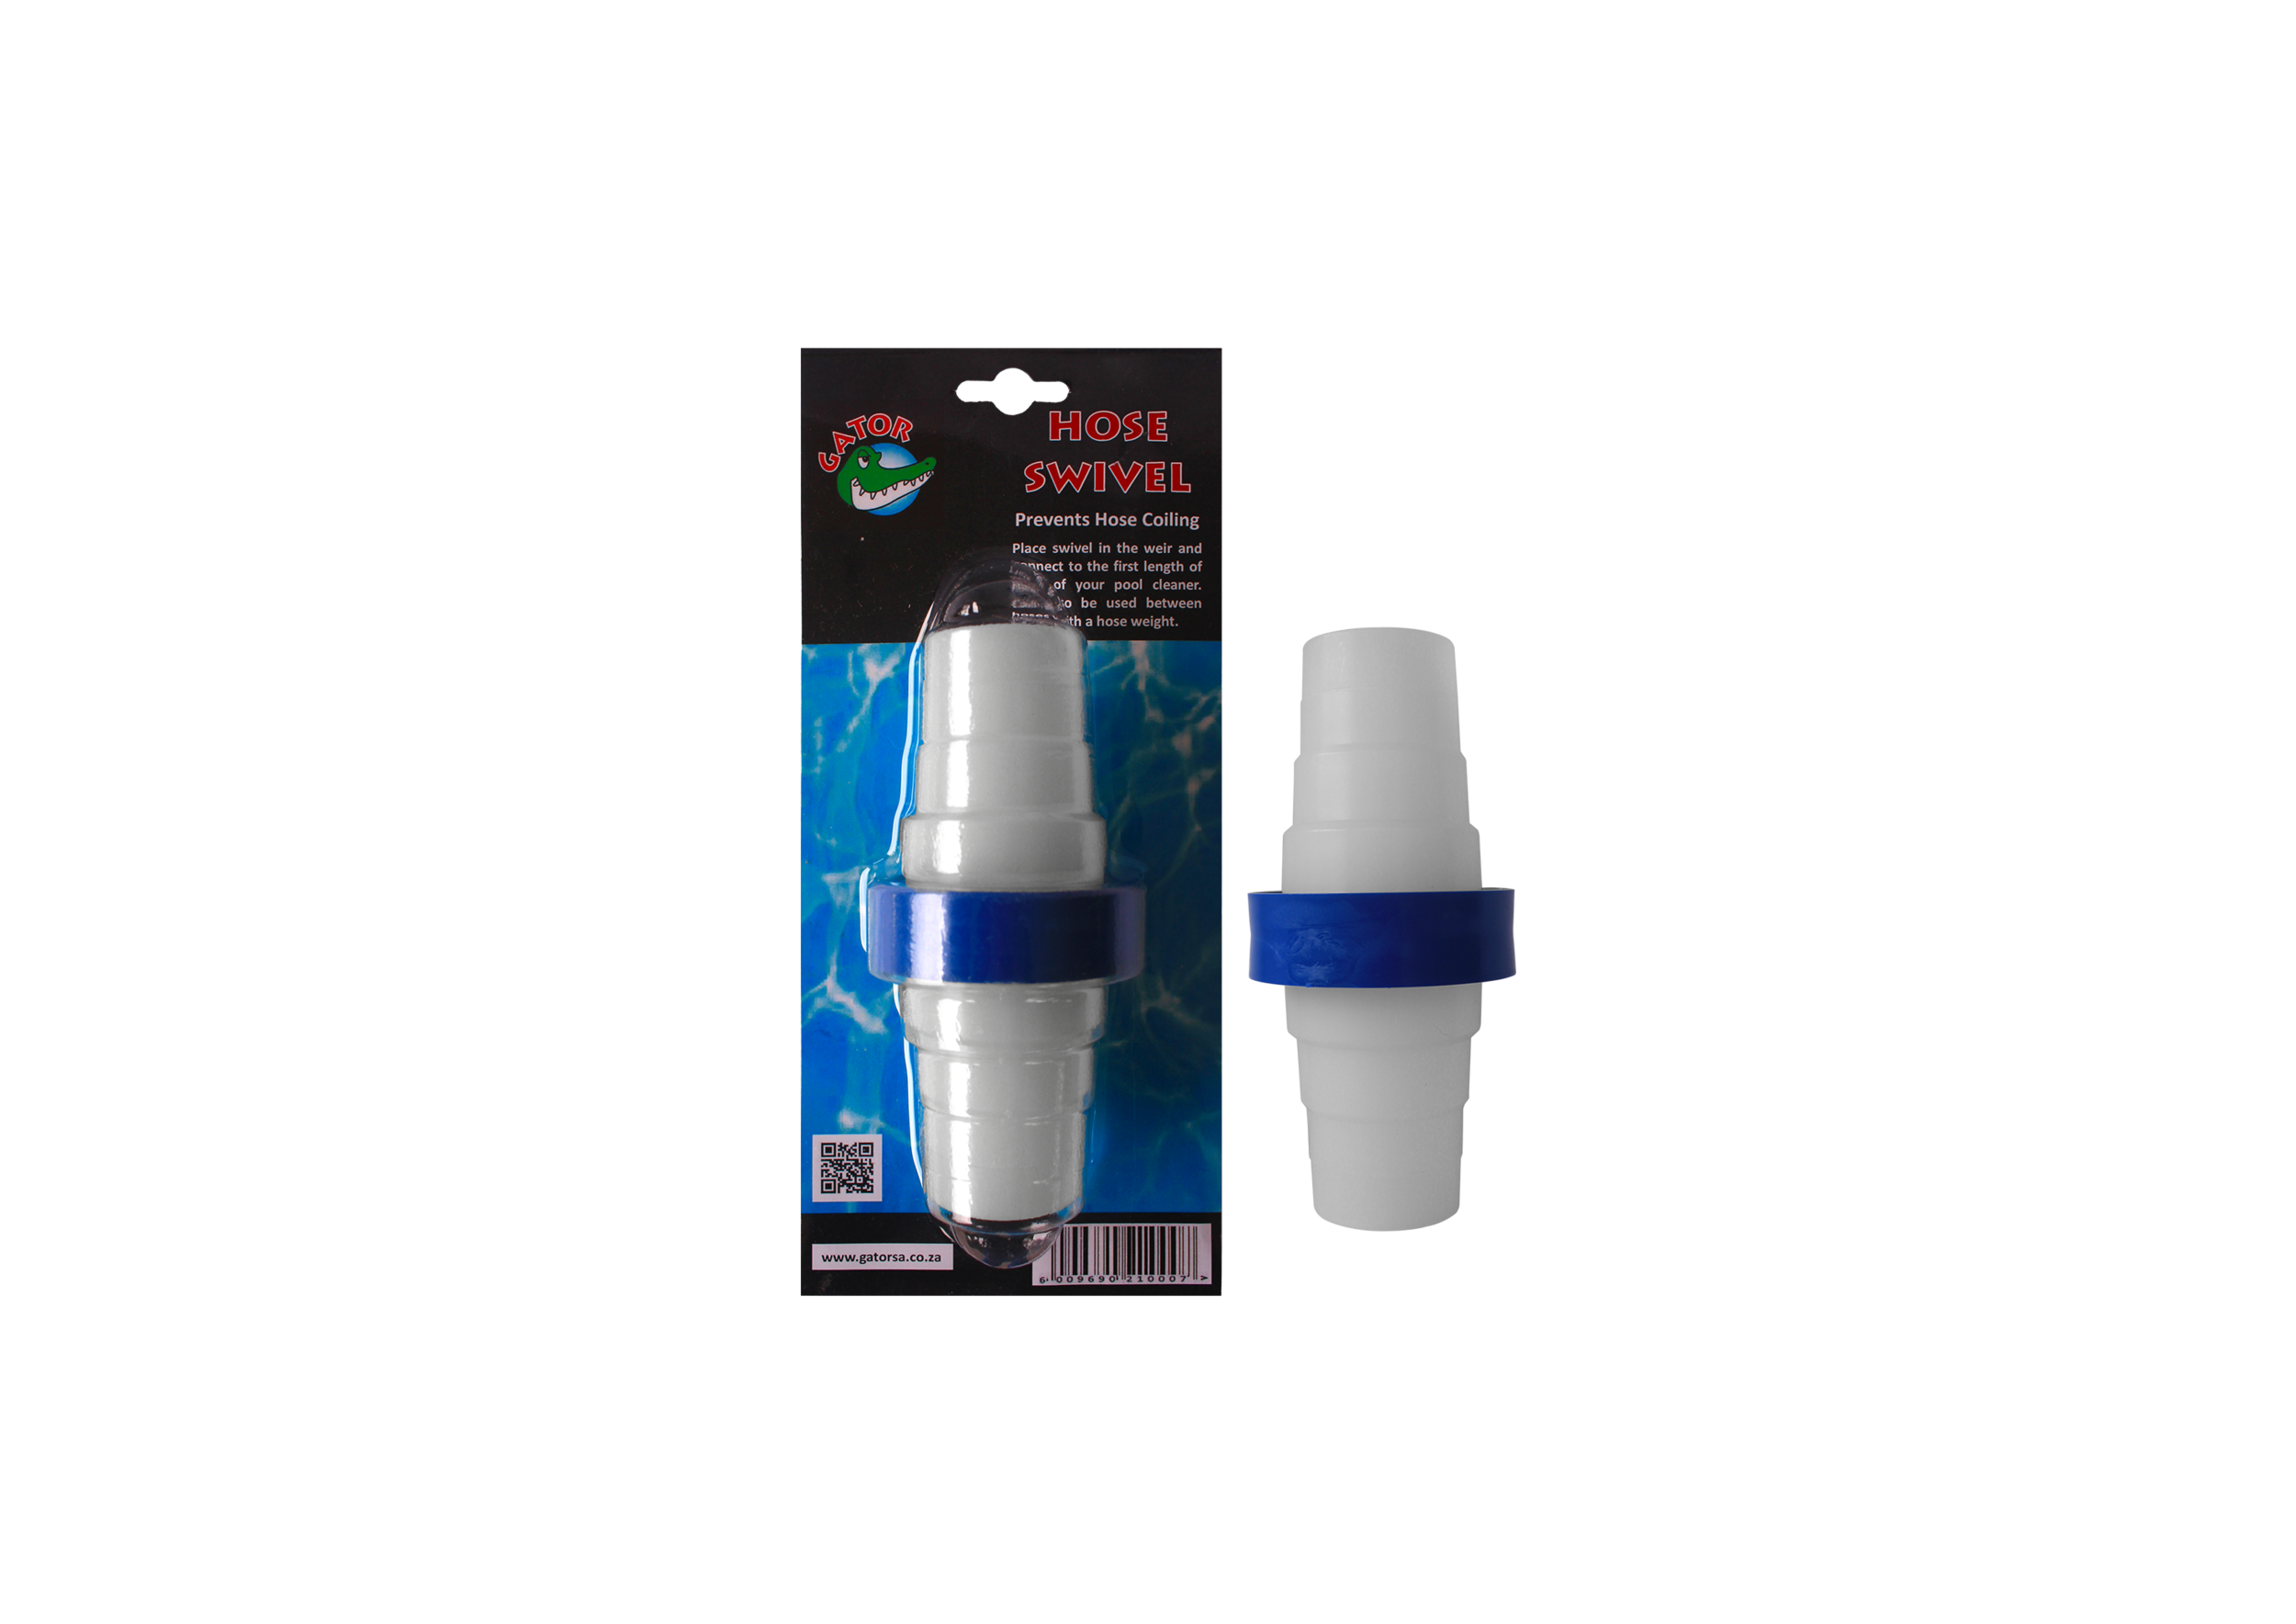
Problem 4: Automatic Pool cleaner hose curls up or tangles around GATOR.
Solution:
1. Move GATOR 1 or 2 hose sections closer to the pool pump.
2. Ensure that hoses are not twisted when attaching GATOR.
Problem 5: Automatic pool cleaner moves in a fixed pattern.
Solution:
1. Adjust the return outlet (airflow) towards the bottom of the pool.
2. Ensure that hose lengths are in good condition
3. Pool hose may be too short. Add more lengths of hose.
4. Consult your automatic pool cleaner instruction manual.
Optional GATOR Cap Installation
The optional GATOR Cap will allow you to remove surface debris quickly.
1. Turn off your pool pump. Connect the cap adapter to the input connectors of the Gator.
2. Connect one or two sections of the hose to the other side of the Gator.
Return to the pool and install as per normal GATOR installation.
view our other gator products
“Thank you so very much. Gator is AMAZING!!”
